
Nothing Says “Nesting” Like Building Teepees
For a few weeks there I turned my living room into a teepee factory…my good friend pointed out that it is the epitome of nesting to be building a physical home within my home…ha. Well, I am within the two month mark of baby’s expected arrival now, and you should see the chaos of the room we intend to be the nursery, so I guess there might be some truth to compensating my nesting urges with teepees instead of actually getting ready for baby. It started with an attempt to copy some pin-spiration (Handmade Home’s No Sew Teepee), which turned into a pinterest fail at first, but then was resurrected with replacement of glue gun for staple gun. In any case, if you’re interested in a cheap fun project (that is, cheap if you’re a fabric hoarder or have old sheets or curtains you haven’t thrown away) or if you’re too lazy to put sunscreen on your kids and would rather shield their outdoor play with a teepee….then read on, this project was pretty fun.
Below: my second teepee – a “ribbon style” (messy mismatch with gaps the kids love to peek out of). Made for my niece who just had a birthday.

The Poles are 1″x2″x8′ boards, they are the cheap ones…cost $1/ea at the big box store. I couldn’t find my staple gun so aside from buying a new staple gun (roughly $8), the boards were the only cost to the teepee, because I had a stash of old sheets, a few curtains, and a bin of fabric with no plans (I know, just call me Fraulein Maria, we’ll be making play clothes next).
I had the hubby drill holes about a foot from the end of each pole and secured the poles together somewhat loosely with a long zip-tie, spreading them out to make a teepee shape before tightening the tie (still not super tight). I used a rather thick rope to wrap around the poles to hide the zip-tie and give the teepee a more rugged look.

Next, I got my up-cycle on and sorted through various fabric options. I didn’t think it mattered much what type of fabric I used…I mixed and matched light and thicker cotton with stretchy modal.

I had some strips of plain beige curtains that I decided to decorate with fabric paint on stamps and a brush to make shapes and feather-ish arrows. And then I just cut varying strips of fabric to fit from pole to pole. This part was a little confusing from my pinterest-inspired guide, I didn’t really understand how to wrap around the poles…I ended up just making a lot of cuts for each section and after trying to secure neatly with a glue gun I realized it didn’t stay well (a friend said if I had a higher end glue gun it would probably have adhered better), so I just took the staple gun to it and tried to hide most of the staples underneath. Simple. Quick.
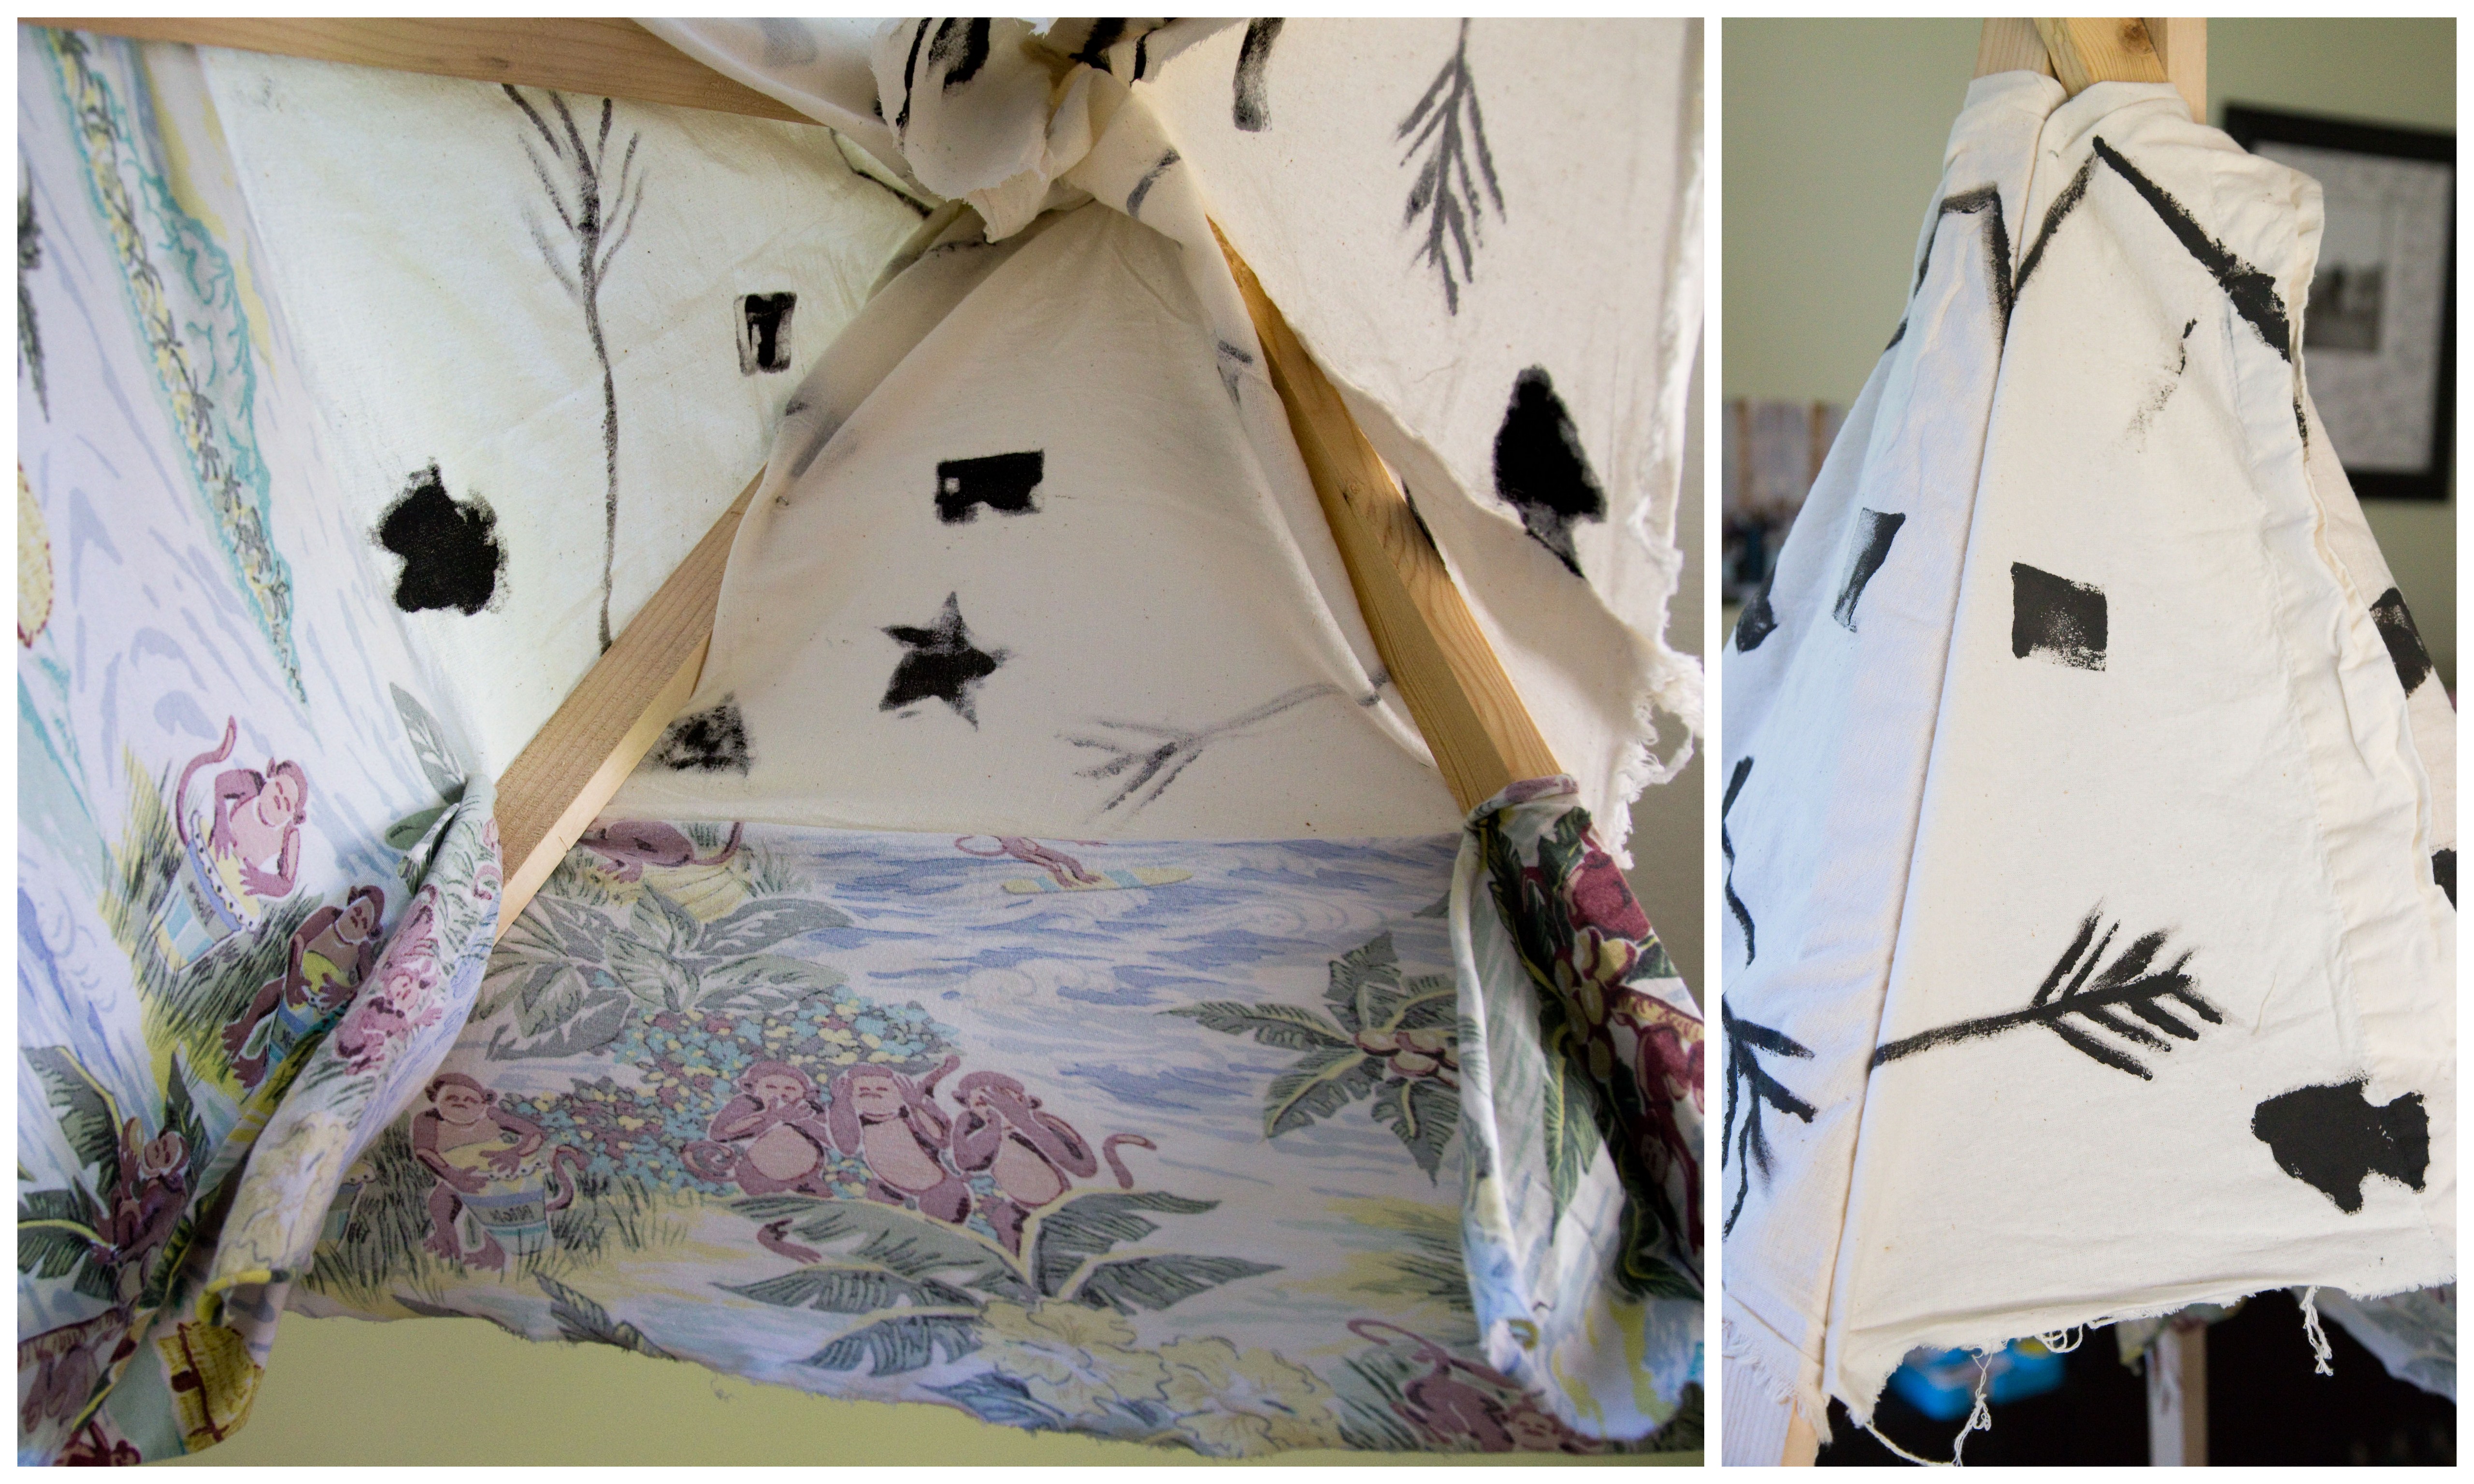
A tricky part about getting the fabric to fit is that this is a pyramid shape here…the bottom part of the fabric needs to be longer than the top, so I would secure the bottom tightly and then stretch and fold the top over to make it fit.

Here’s the third teepee I built. The second teepee took me roughly 2.5 hours, this one was even a little faster since it didn’t require cutting and securing as many pieces. I just draped a large piece of fabric symmetrically over the poles, securing in place with staples. I figured a rope tie would look good weaving through holes where the edges matched up in the front of the teepee. I cut pieces to fit the bottom three sections where the first large piece of fabric left off. After my first two teepees were patched together with lots of strips of fabric, I kinda welcomed the simpler look. This one was for my nephew who also had a birthday recently. 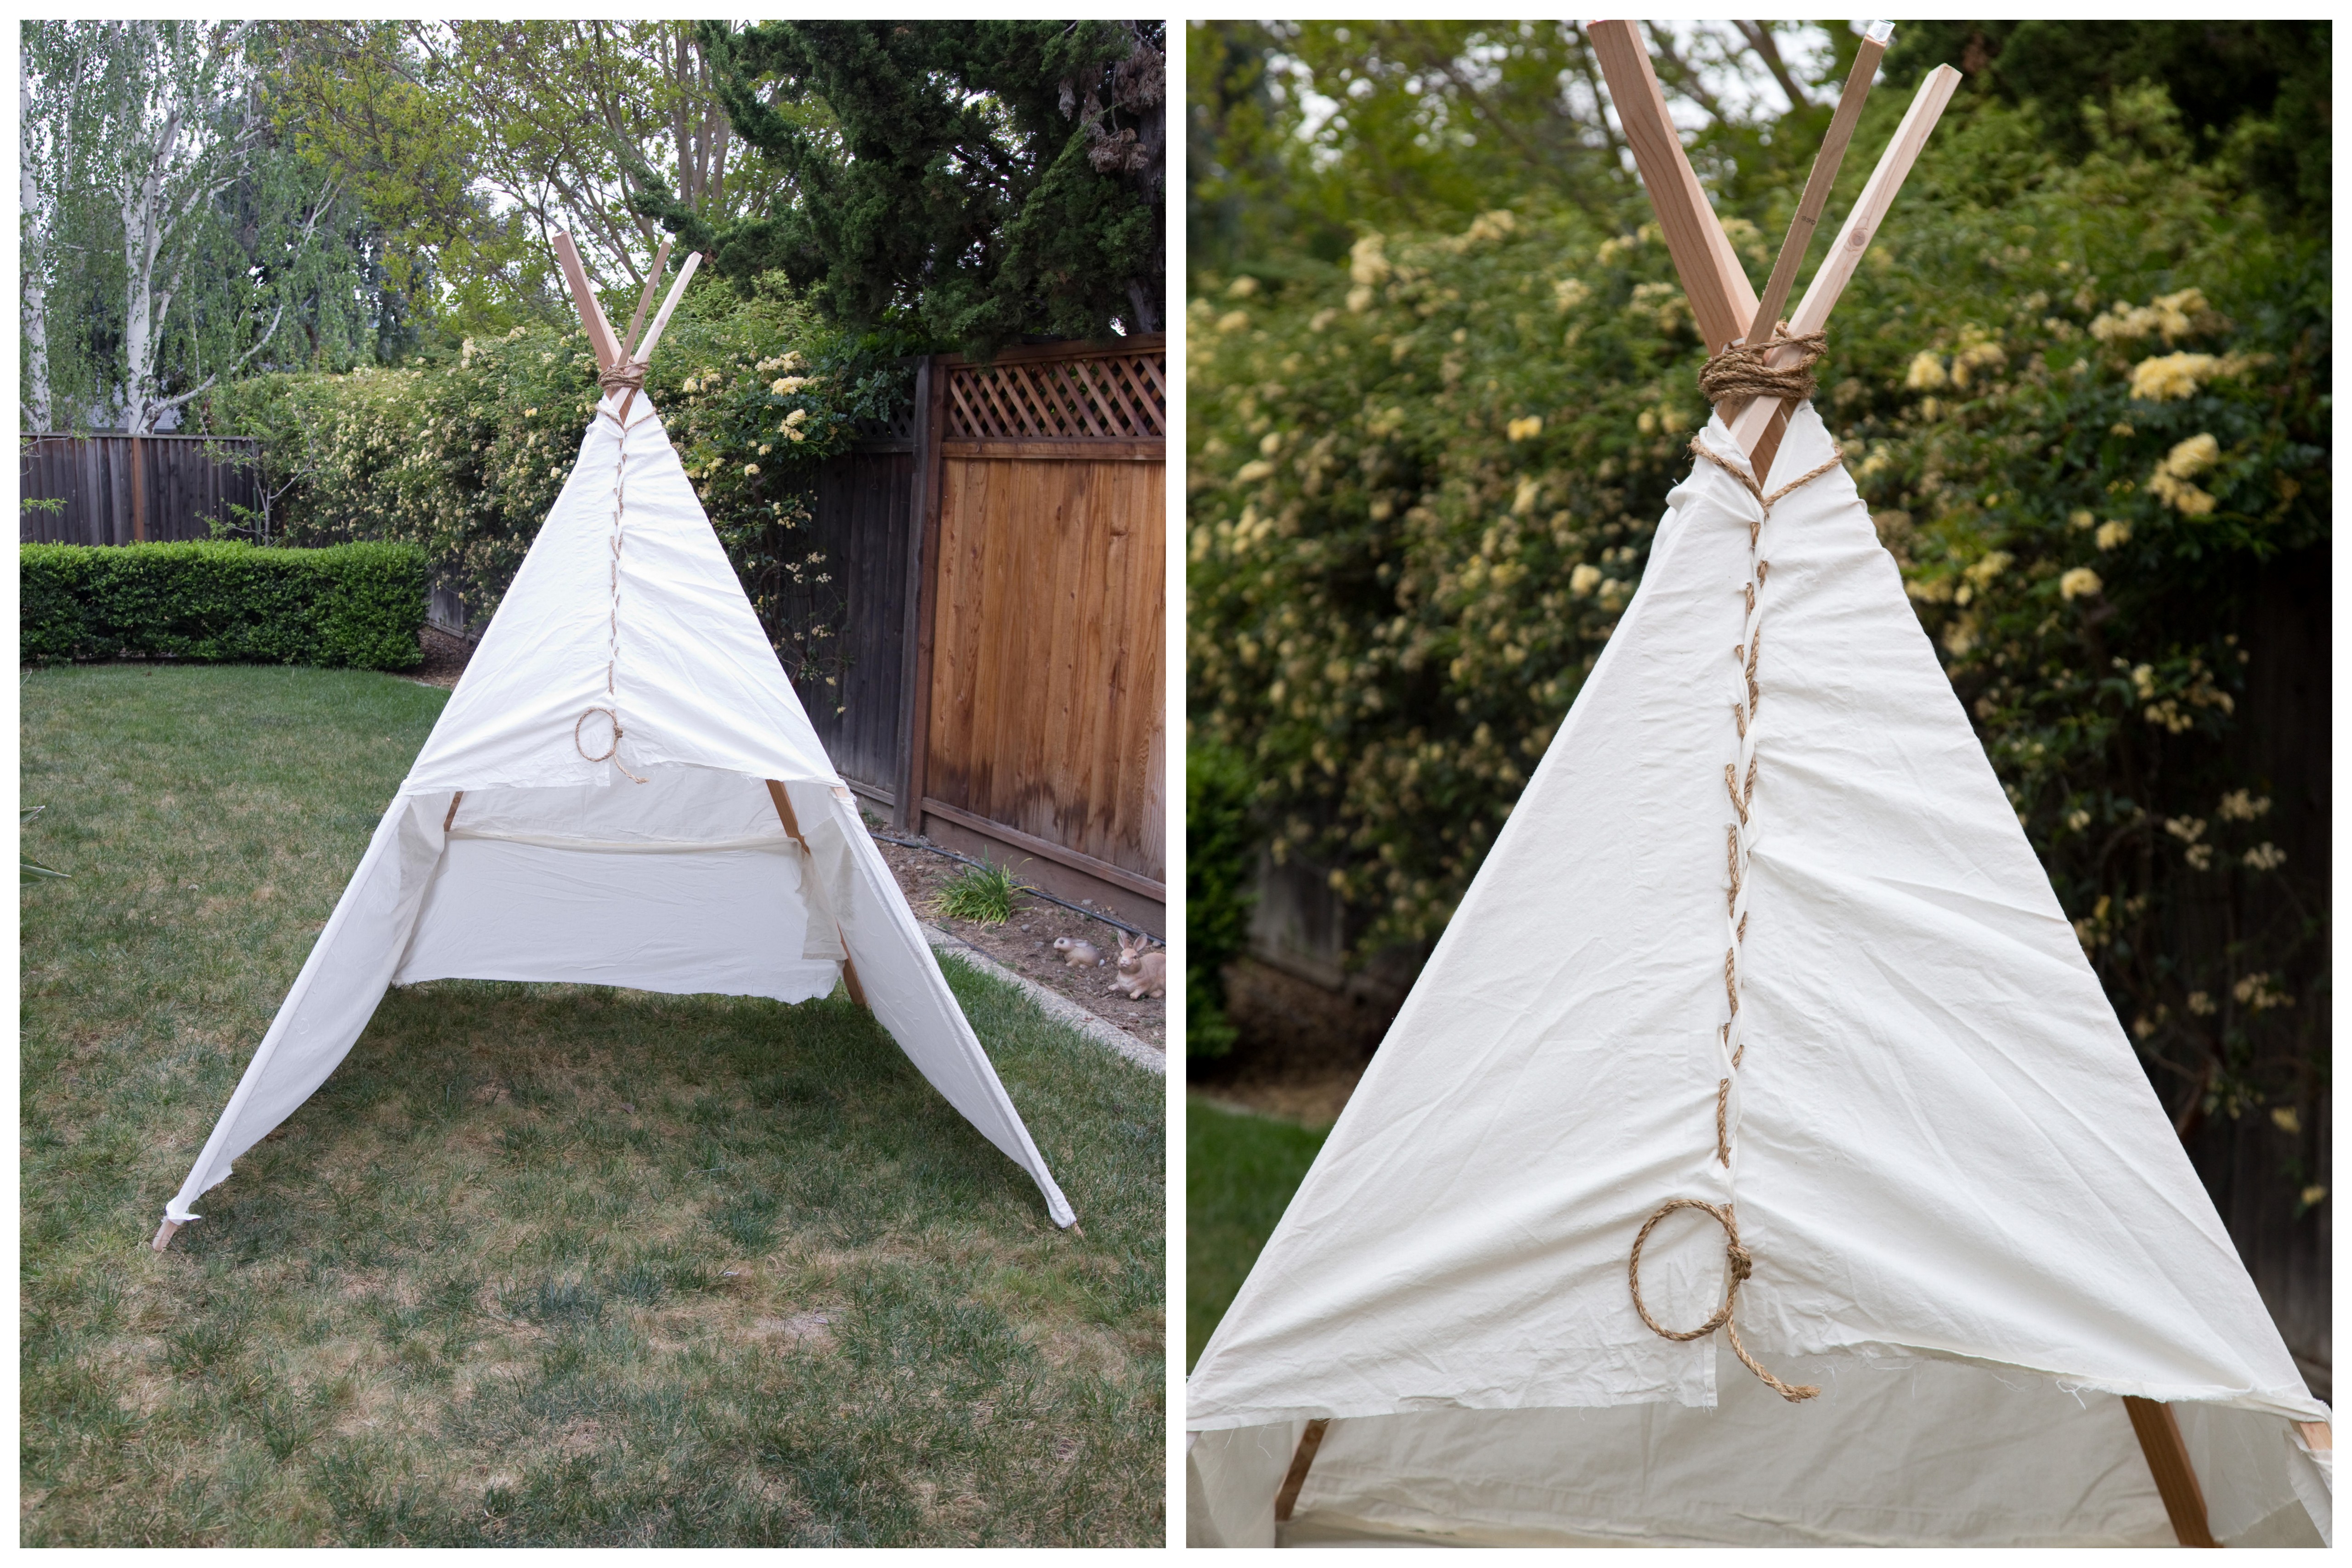
And here’s the first teepee I made…this one with six poles like the one I was copying. It’s a good size, just maybe unnecessarily large. The stretchy fabric on the bottom keeps getting ripped off as the kids love tugging on it and climbing through the walls. But hey, they have fun with it. I’m happy that it was such a cheap investment, and not that hard to fix. It warms my heart when they camp out under there with some books or for an iPad break. And yes, I did move it outside to shade them while playing in the rocks earlier today because I was too lazy to go through the sunscreen routine.

Have I inspired anyone to build a simple teepee? I’m tempted to make more…but I guess I should work on the baby’s room first.
I love it Michelle, what a great play idea. I may just have to try it, thanks for sharing your trials and tribulations…
Yes, try it! And then string it with twinkle lights and have the grandsons over to read books and do tummy time under it.